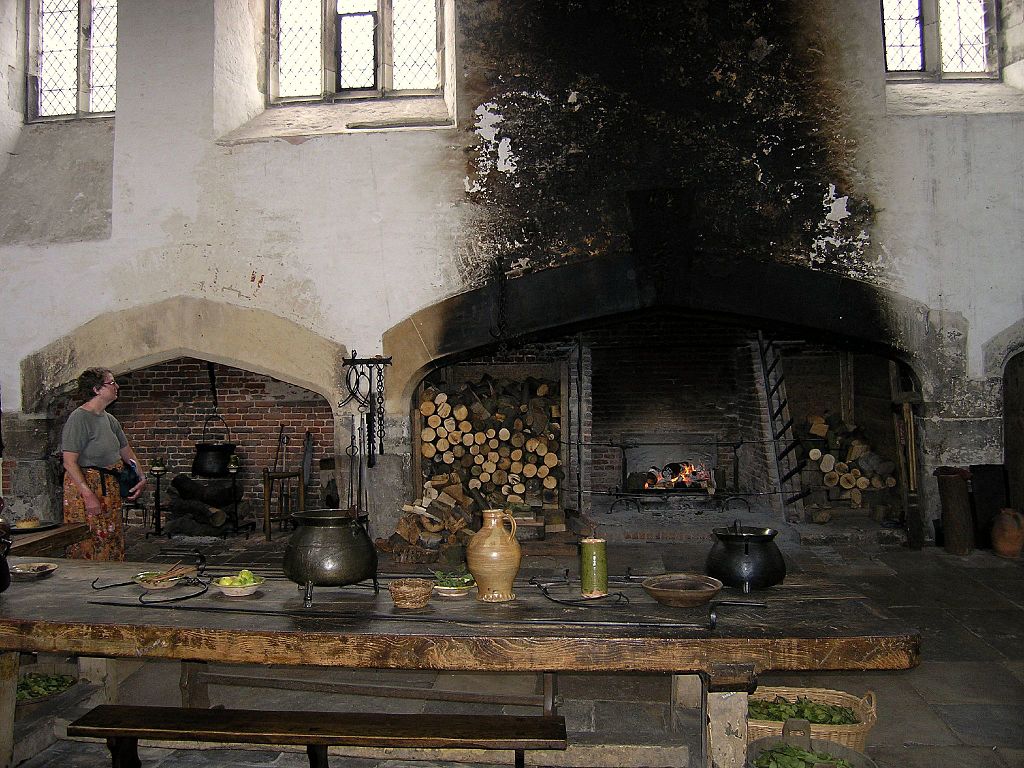
THE FURTHER ADVENTURES OF THE KITCHEN
CHAPTER 12 – I am Eaten by Cement
Day Who-Cares after Slabbing
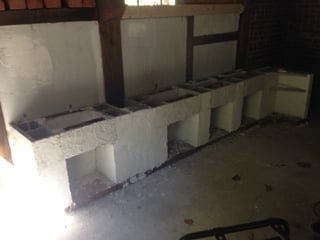
The brazier bases were mortared with a surface bond cement; this type of build doesn’t require mortar between the blocks, but is parged on the outside. It’s quite stable for block not subjected to lateral forces. It also dries to a white finish, eliminating the need to limewash it.
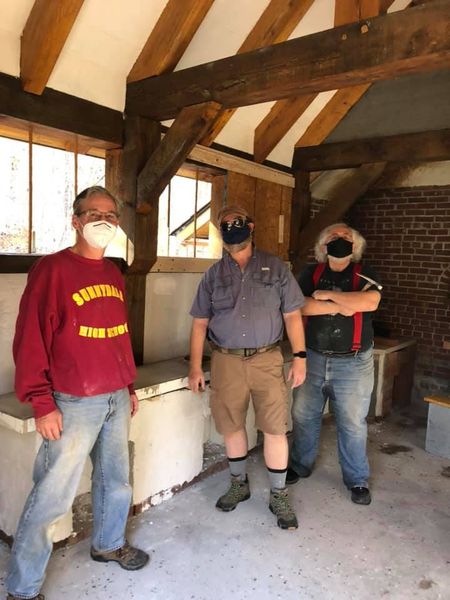
With the help of two stalwarts, the slab tops for the brazier were poured and installed. For those interested, we used a reverse mold with fast curing cement, ready to un-mold in an hour.
Two pieces for the cauldron corner, then the two long sections, one with the braziers.
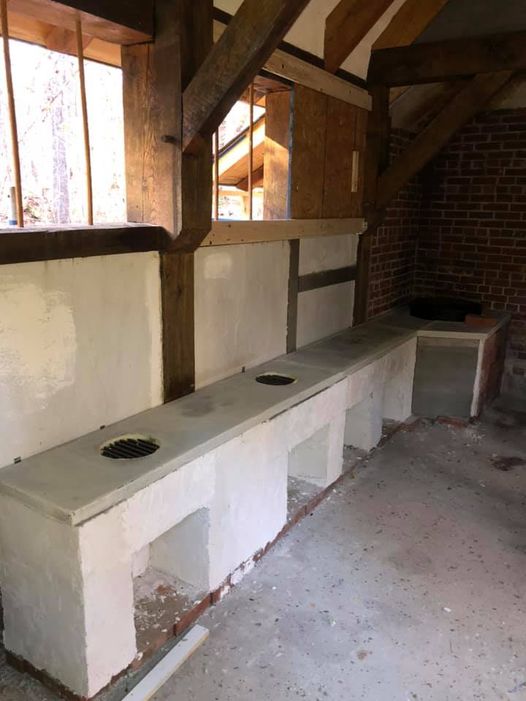
The iron was installed to keep the brick top from falling onto the cook’s toes, ruining both shoen and supper. A stove gasket was installed around the cauldron opening to keep smoke from seeping out into the cook’s faces, ruining coifs and moods. For the top I used paver bricks, as we have a couple of hundred of them and they have a nice period look. Once they were cut and fitted, they were mortared into place.
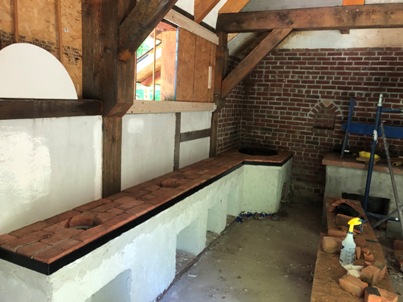
The slabs, which are cement grey, sit on top of the brazier base, which is pretty white, so the slab edges needed parging. I used the surface bond to match the color.
The cauldron corner also got a parge coat. Possible touch-ups will be done after it all cures a bit.
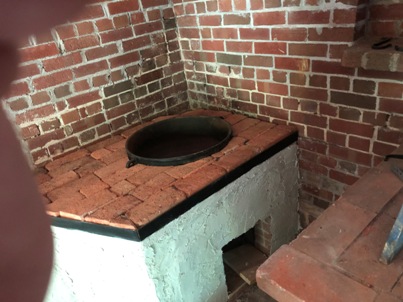
All that remains is to mount a door over the fire box under the cauldron to prevent smoke from seeping out and ruining…well, you know.
Next on the list is the demolition of the oven front, which cracked during the last muster. Once done with that, we’ll finish the walls of the oven and parge it white. It won’t stay that way, but that’s period, too.